
 Top Cabinets (Snow White)")
How to paint kitchen cabinets
Weekend Project: Renew Your Kitchen Cabinets
Breathe New Life Into Your Kitchen Cabinetry
Is your kitchen in need of a refresh, but a full remodel isn’t in the budget? No worries — you can completely transform your cabinets in a weekend with a few tools, the right paint, and a little elbow grease. This DIY cabinet makeover is a game-changer, giving your kitchen a brand new feel without the renovation price tag.
Why Update Your Cabinets?
Cabinets are the focal point of your kitchen, and over time, they can look tired or outdated. A fresh coat of paint not only revives their appearance but also extends their lifespan. Whether you’re a fan of warm neutrals or bold hues, this project lets you personalise your space with style.
What You’ll Need:
-
Degreaser/cleaner
-
Sandpaper (light and very fine grit)
-
Fleetwood Bloxx-It Primer
-
Fleetwood Advanced Pain
-
1″ or 1½” Angled brush
-
Microfibre roller
-
Screwdriver (to remove hardware)
-
Damp cloths
Step-by-Step Instructions
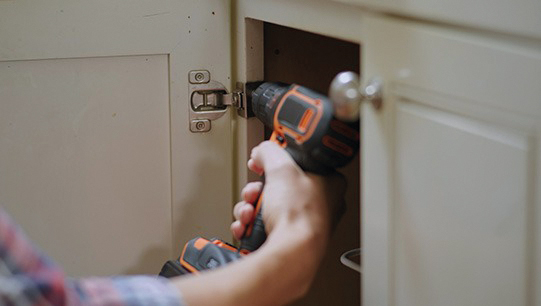
1. Remove and Label Hardware
Take off all cabinet doors, handles, and hinges. Number each door and its corresponding location — this will make reinstallation a breeze!
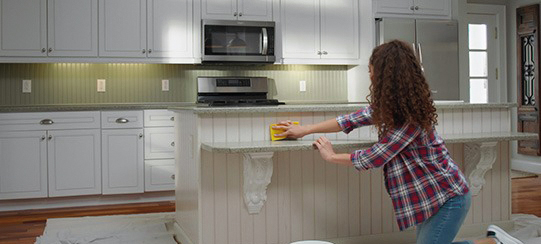
2. Clean, Sand, and Prime
Use a degreaser to thoroughly clean every surface, removing old oils and kitchen grime. Lightly sand the surfaces, then apply Fleetwood Bloxx-It primer. Once dry, sand again with very fine grit paper. Wipe away dust with a damp cloth before painting.
3. Apply the First Coat
Using an angled brush, start with the recessed areas of each cabinet door, taking care not to overload the brush. Then, roll paint over the flat sections with a microfibre roller for a smooth, streak-free finish. Paint carefully to avoid drips and ensure even coverage.

4. Second Coat and Reassemble
Let the first coat dry for 24–48 hours. Once dry, apply a second coat using the same technique. Wait another 24–48 hours, then reattach your cabinet hardware — and voila! Your kitchen will feel like new.
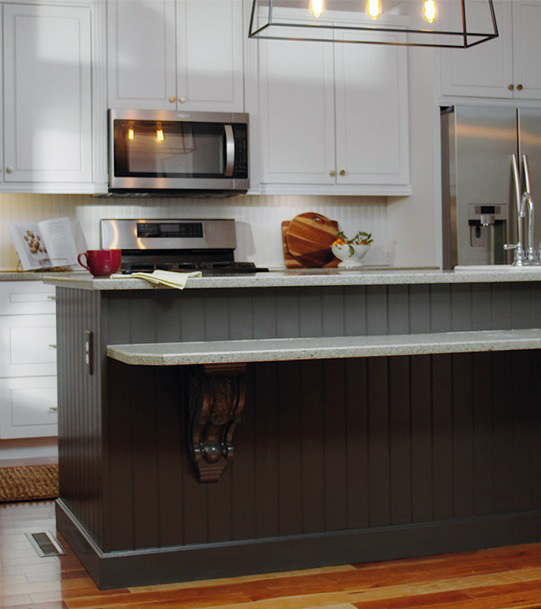
With just a weekend of work, you can completely transform your kitchen’s look and feel. Whether you’re refreshing before a home sale or simply craving change, painted cabinets are a budget-friendly, high-impact solution.


