How to paint a laminate kitchen by Aileen Hogan of Shabby.ie
How to paint a laminate kitchen
by Aileen Hogan of Shabby.ie
Episode 4 of
‘HOW TO’ video series from Fleetwood Paints
This is a popular subject and one we get asked about ALOT. There are a good few laminate kitchens that could do with a little freshening up it seems as both myself and Fleetwood have received plenty of requests for this video and blog.
For this job I needed the following products:
- Screwdriver or drill for removing cupboard doors
- Caulk filler
- Dust Sheet
- Washi tape
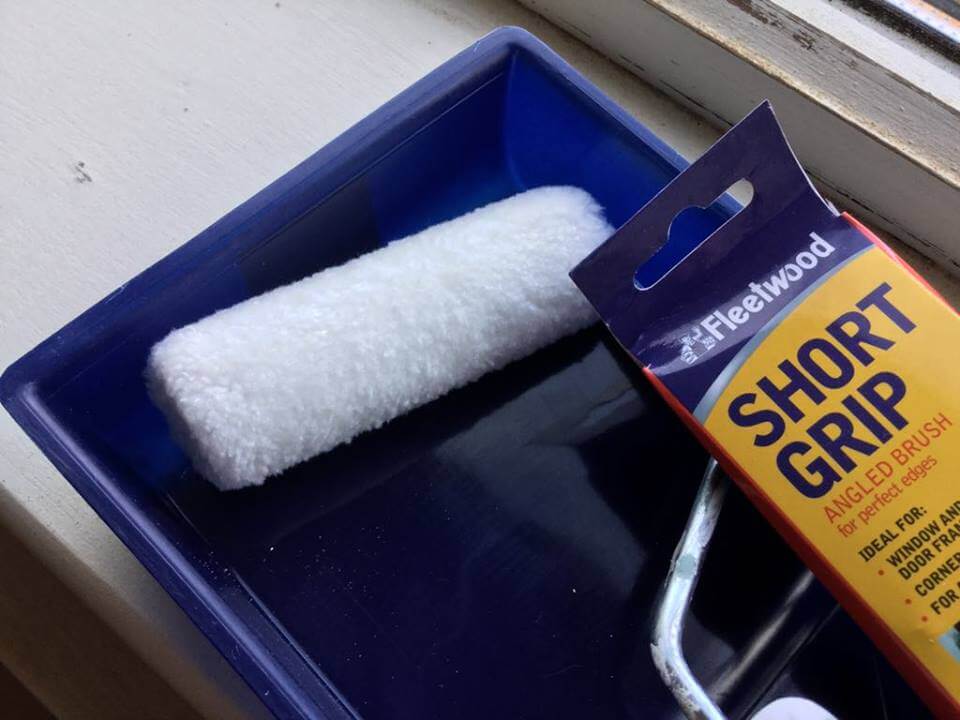
- Flock roller and mini roller tray
- Sandpaper and super fine sanding pad for edges and grooves
- Methylated spirits for cleaning
- Bloxx-It Primer
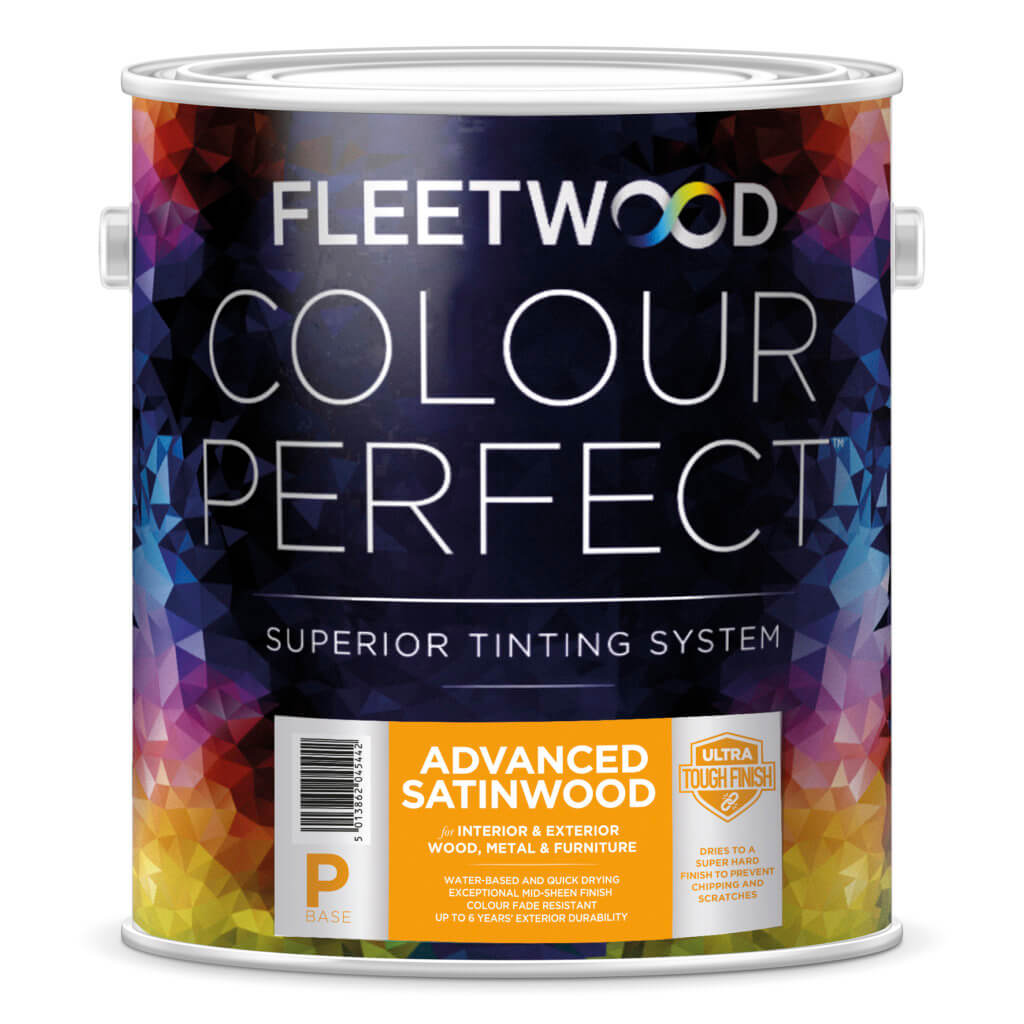
- Advanced Paint range in a Satinwood finish. ‘Designer White.’
SO here goes 🙂
Is it possible to paint a laminate surface and if so do you need special products. The answer is yes and yes! You can of course paint a laminate surface, but it can be one of those tricky ones as some products will simply not adhere well. Lets go through the video step by step.
First of all, when painting any kitchen you need to remove all the doors from the carcass. I used my handy lightweight cordless drill with a screwdriver bit and had all the doors removed in no time. I then covered the table with a big dust sheet (these are brilliant as I can be a little messy sometimes 😌) and laid out as many doors as would fit on that flat surface and started my PREP 💪🏻

Step 1: PREP & CLEAN
Let’s get the doors clean on both sides if you are painting both sides. Grease and oil from kitchens can cause a paint finish to fail. I am only painting the outside of the door but I did use this opportunity to give the whole door a good clean. I don’t know about you, but that’s not something i get round to very often! I use my favourite cleaner, a 50/50 mix of methylated spirits (denatured alcohol in the USA) and water in an old shower cleaner bottle. This is a fabulous cleaner because it will not leave any residue to bleed through your paint and it dries in minutes.

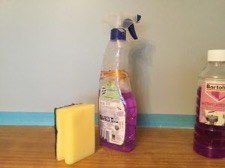
I sprayed it straight on, scrub it with a sponge and then wipe clean with a cloth or some kitchen roll. Done!👏🏻
Step 2: SAND
To prepare a laminate surface you cannot dive in with a sander, this is not real wood folks and you will tear it to shreds! I simply got med grade sand paper and gave it a light scratching. This just dulls the shine and gives the primer something to adhere to.
Step 3: PRIME
Now this is where you have to know what you are doing and buy the RIGHT primer. Why? Because the primer sticks to the laminate and then the paint sticks to the primer and we have a job well done. I used BLOXX-IT. It’s a primer that has super adhesion qualities and watch how I do the scratch test after rolling on this primer and letting it dry. This will tell you if you have a finish that will last or if you should stop now and not bother going any further. If your primer scratches off at this stage your paint finish will fail.
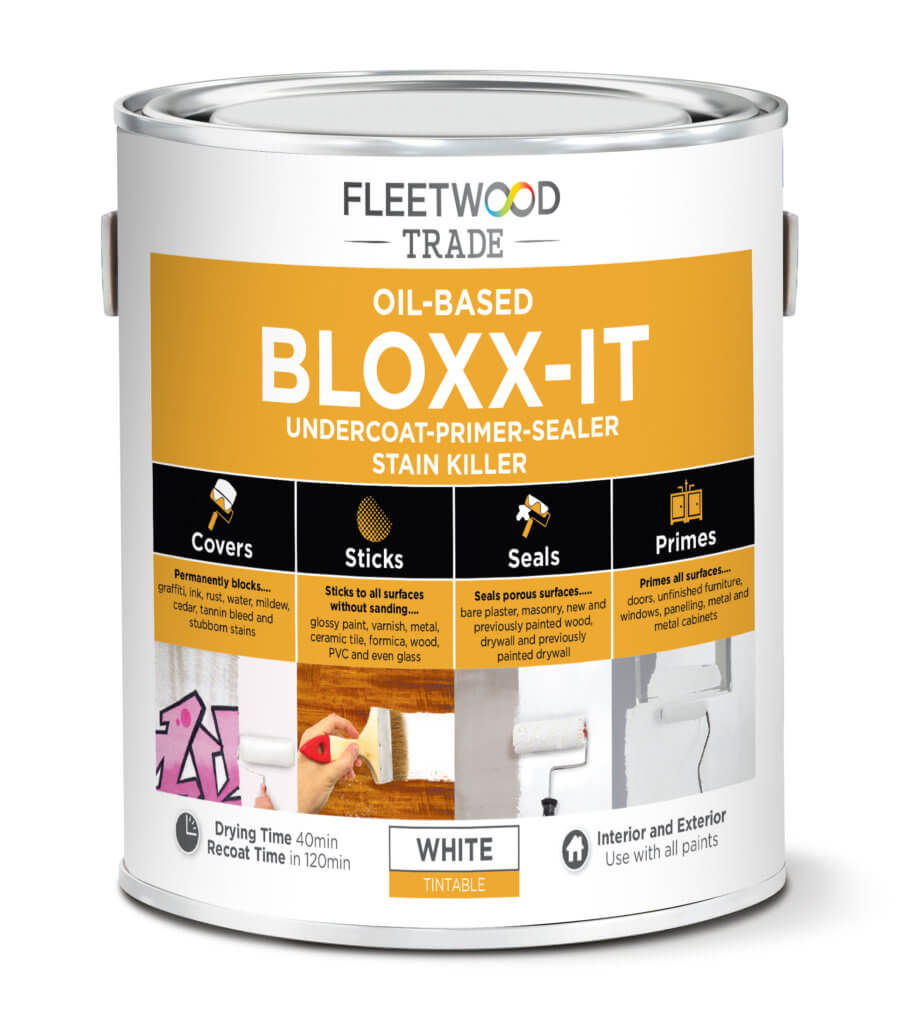
You will see in the video how I apply this primer. Its oil based and so can feel a bit sticker to you if you’re used to using water based products, but sticky is what we want right? Stick away!….Remember to keep this coat as flat as possible as any brush marks you make now will come through your paint too and you wont get that sprayed like finish. Just take your time and roll it on evenly. The drying time is 40 mins and re coat is 2 hours so give it all the time its needs. Sure you have the carcass to paint, it’s not like you have time to watch paint dry. 😁
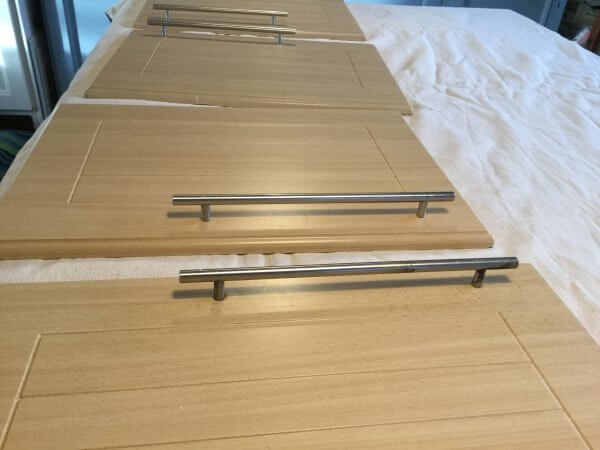
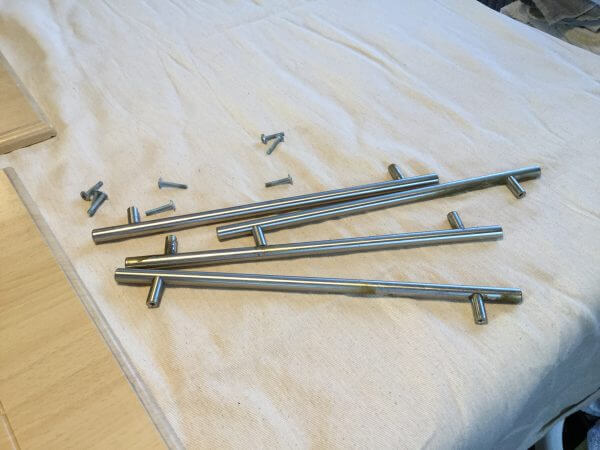
Day 1: Prep finished! I removed all the doors and laid them out on a covered kitchen table and took off all the handles so they wouldn’t get in the way of my roller. I then cleaned the doors, sanded them and applied 1 coat of primer to them all. I left them to dry overnight and you will see how I tested them for adhesion………
Day 2: Scratch test! Ahhhh we all dread the scratch test don’t we??( just in case we didn’t do out prep properly.) Well there isn’t much point in continuing if the primer didn’t adhere 🤷🏼♀️ However, NO problem with adhesion when you use BLOXX IT… so I was ready to paint. I chose the Advanced range of paint from Fleetwood and the finish I wanted was Advanced Satinwood as it’s a hard wearing, durable paint that can be washed down (you need that for a kitchen.) I applied it with the mini roller again and that gave me a spray-like factory finish.
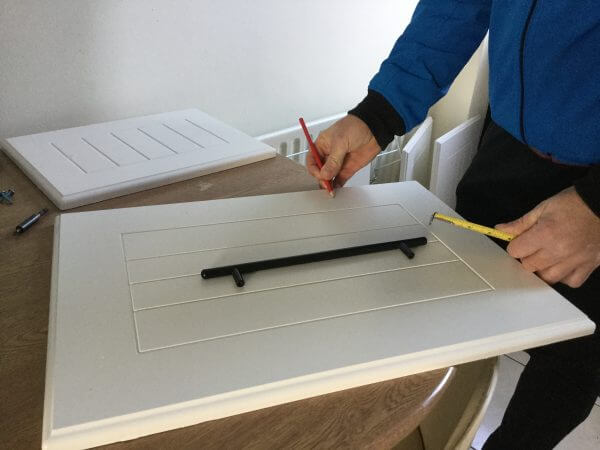
I had to fill in the holes for the handles in the end as the customer could only get slightly smaller ones so i used Fleetwood caulk filler… it’s amazingly smooth and easy to use. While the doors were drying I started work on the carcass. It was exactly the same process as you will see in the video. I cleaned, sanded and primed before rolling on the paint and once the carcass was done it really started to come together.
Day three: Job complete I was done and dusted and had to then put the handles back on all the doors and re attach them!
And what a difference in 3 days!
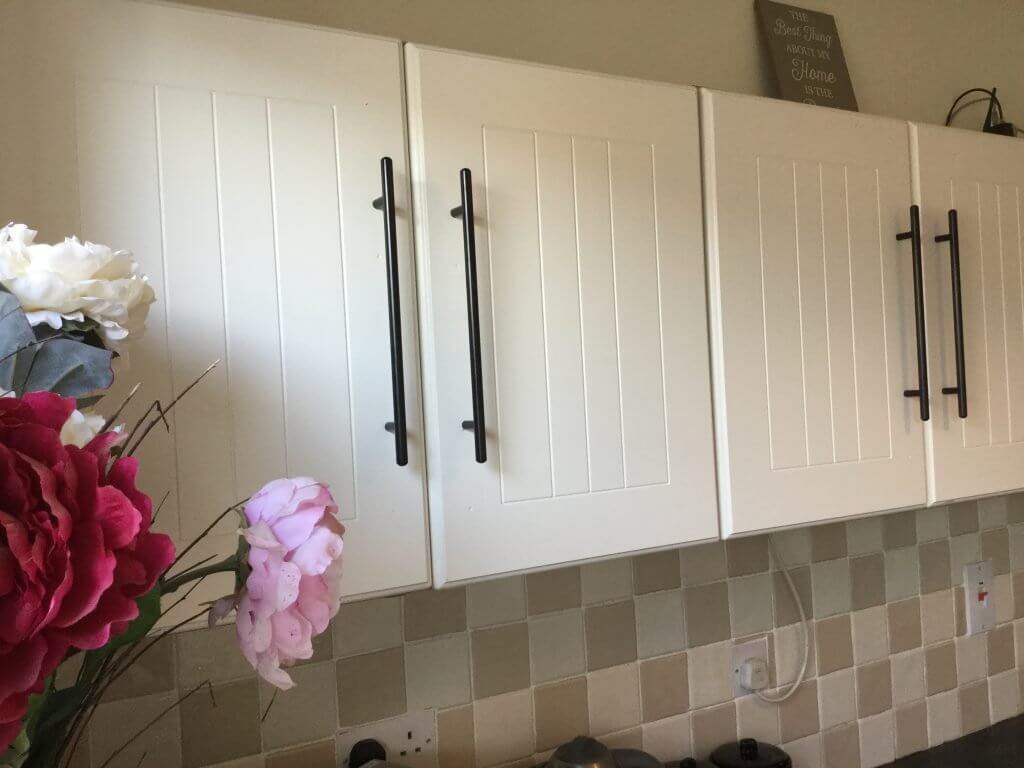
The customer was thrilled. Have a go folks, it’s less expensive that buying a new kitchen!
Now for those of you that want to know a little more about the paint! I chose the Advanced Paint Range in a satinwood finish from Fleetwood and tinted the paint into a colour called ‘Designer White’ This range comes in three sheen levels and is tintable into any colour…
- Eggshell… Interior designers choice for kitchen cabinets and furniture upcycling (low sheen level of 12% and the one I use on furniture)
- Satinwood… internal/external doors and skirting ( Mid sheen level of 25% and the one I use on all other interior wood)
- High Gloss….. high gloss finish for say your front door, skirting? (High sheen level of 80% and the one I use on external doors or furniture I want to look shiny/glossy.)
It is good to know a little about the paint you choose, so here are the advantages of the Advanced range.
- LOW VOC content.
- Ultra tough finish
- No yellowing white stays white
- Scuff and stain resistant
- 6 year exterior protection!
- Resists cracking and flaking
- Excellent adhesion and coverage
- No chipping and scratches
- Touch dry finish in 30 mins with a recoat time in less than 2 hours
- Tintable into every colour possible through the Fleetwood tinting system