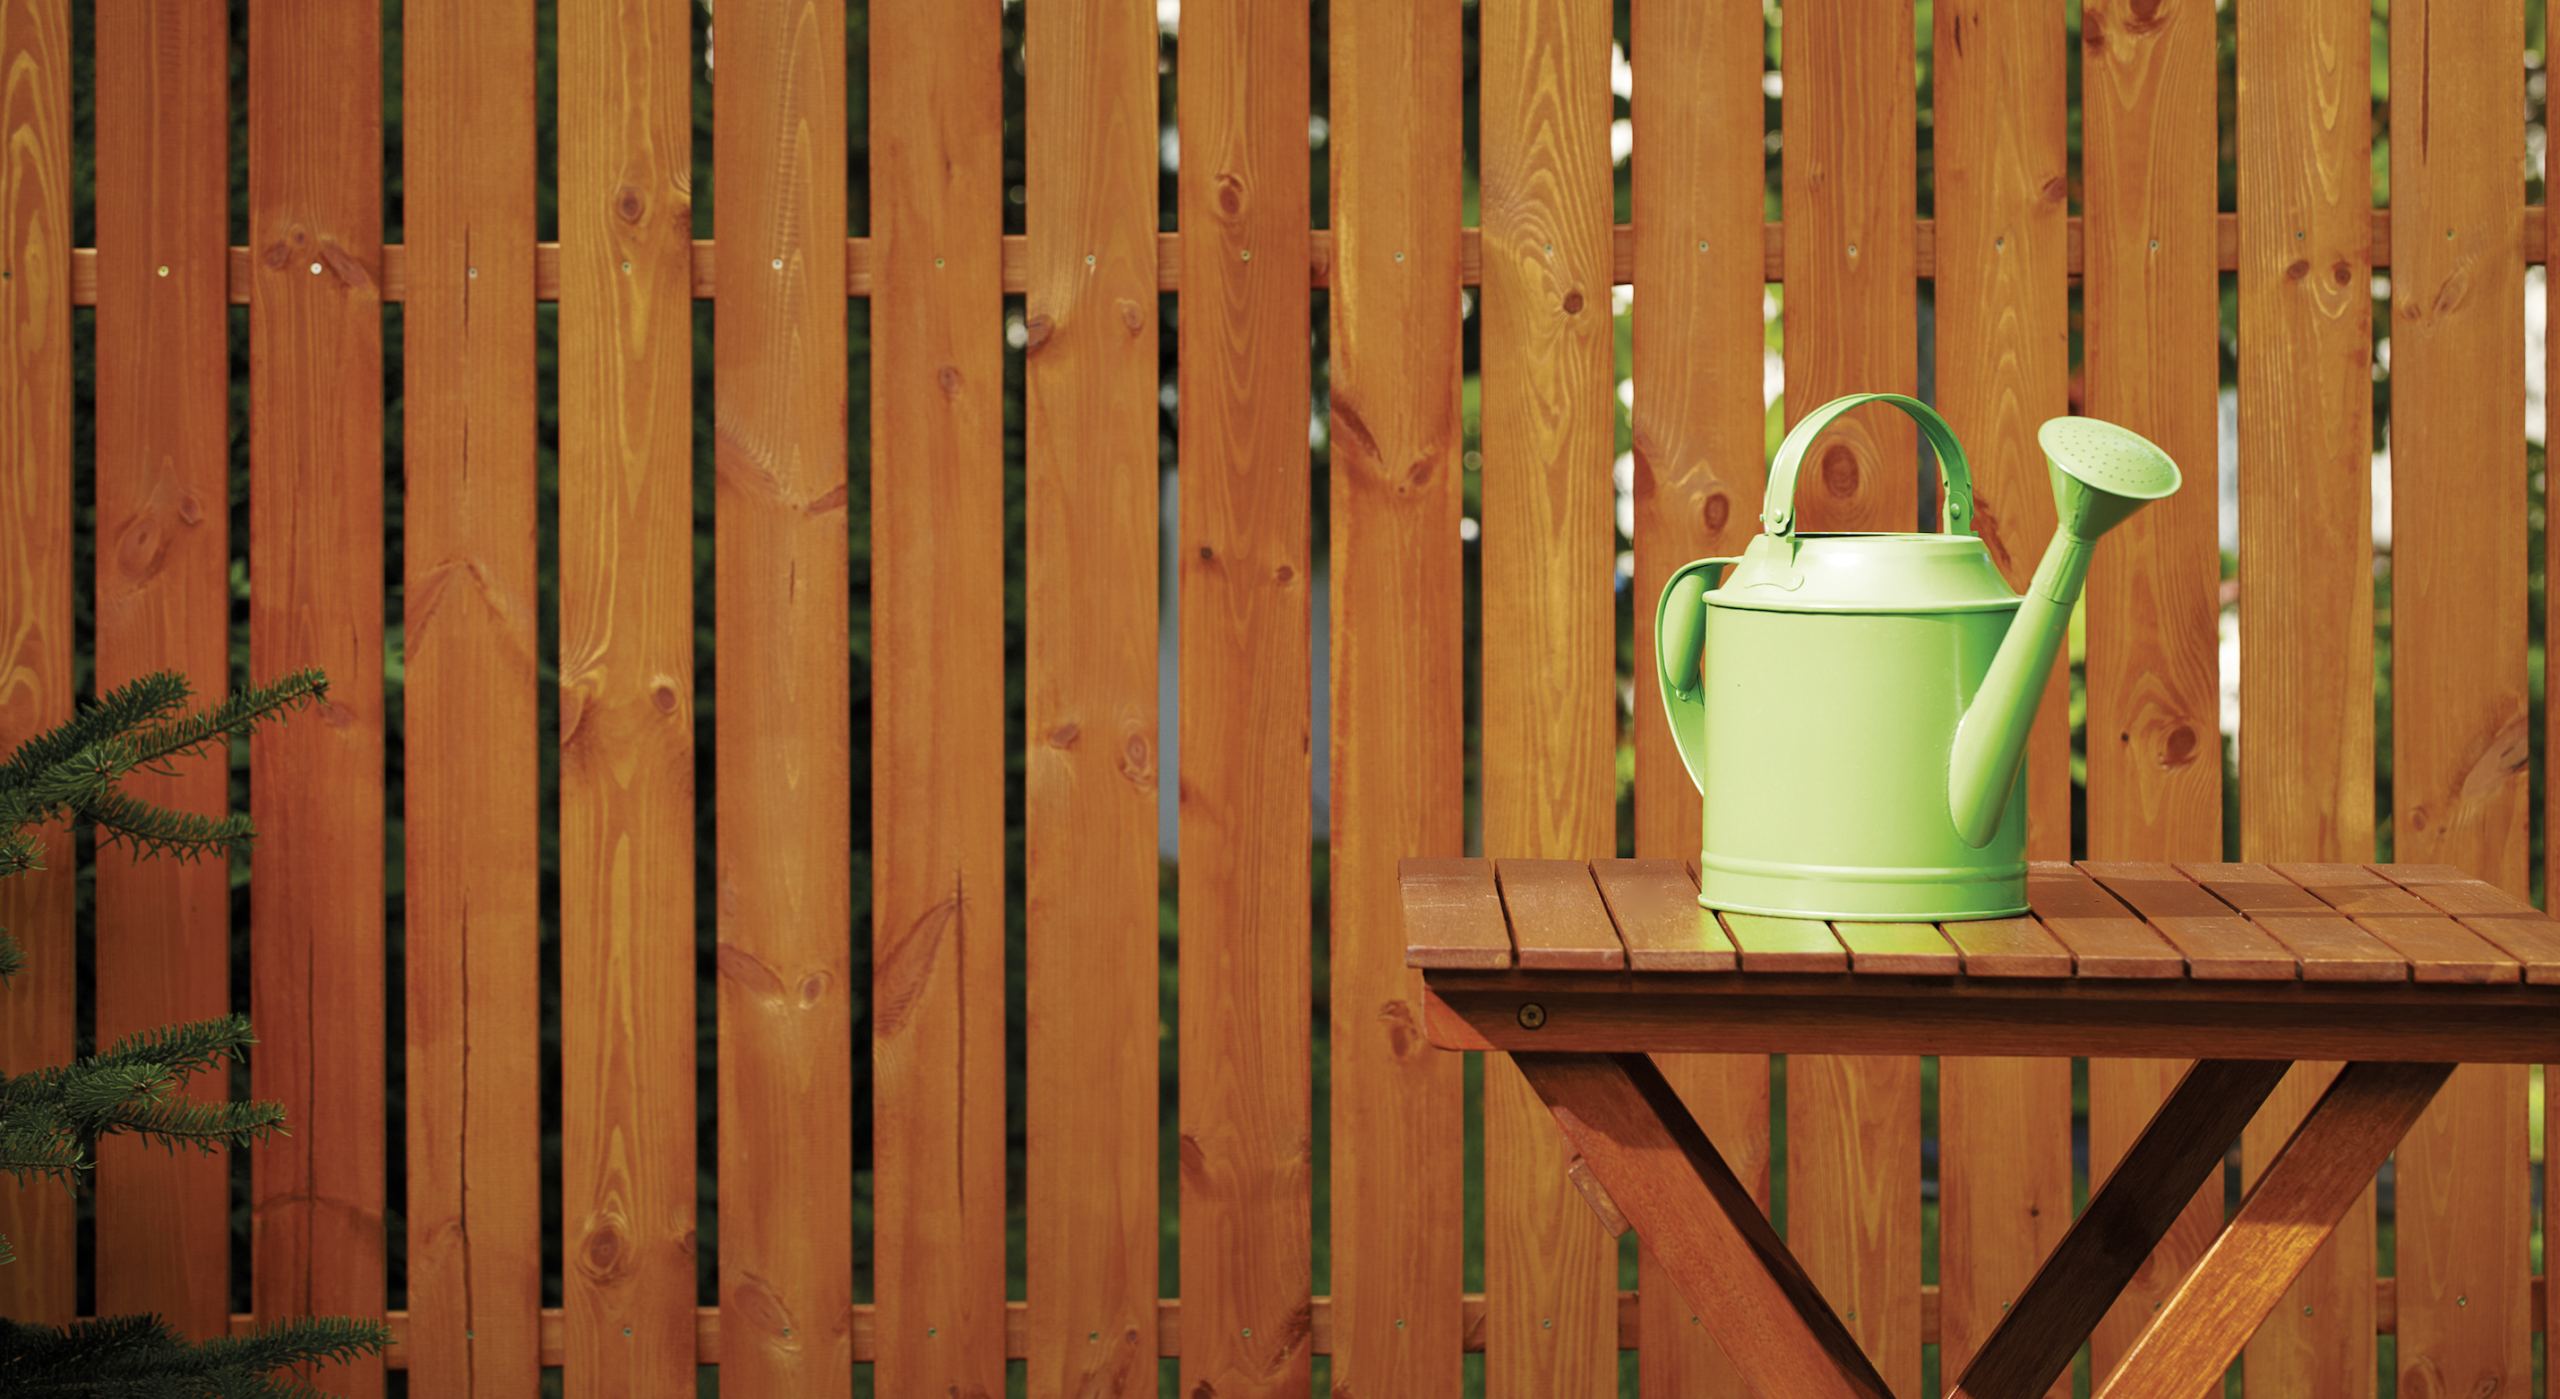
Your fence is more than just a boundary—it’s an extension of your outdoor space. A fresh coat of stain can transform an old, weathered fence into a stylish and visually pleasing feature that complements your home. With the right products and a little effort, you can achieve a stunning, long-lasting finish in just a weekend.
1. Prep Your Fence
Before staining, check for any cracks or damage in your fence panels. Cleaning is essential—use soap and water or a power washer to remove dirt, grime, and debris. Once clean, allow the wood to dry completely before moving on to the next step.
2. Sand and Prime
For the best results, lightly sand the fence to create a smooth surface that will absorb the stain evenly. If needed, apply a coat of Fleetwood Pure Grip Primer using a 4” Pro D Brush. This step helps the stain adhere properly and enhances durability. Allow the primer to dry for 30 minutes to an hour before applying the stain.
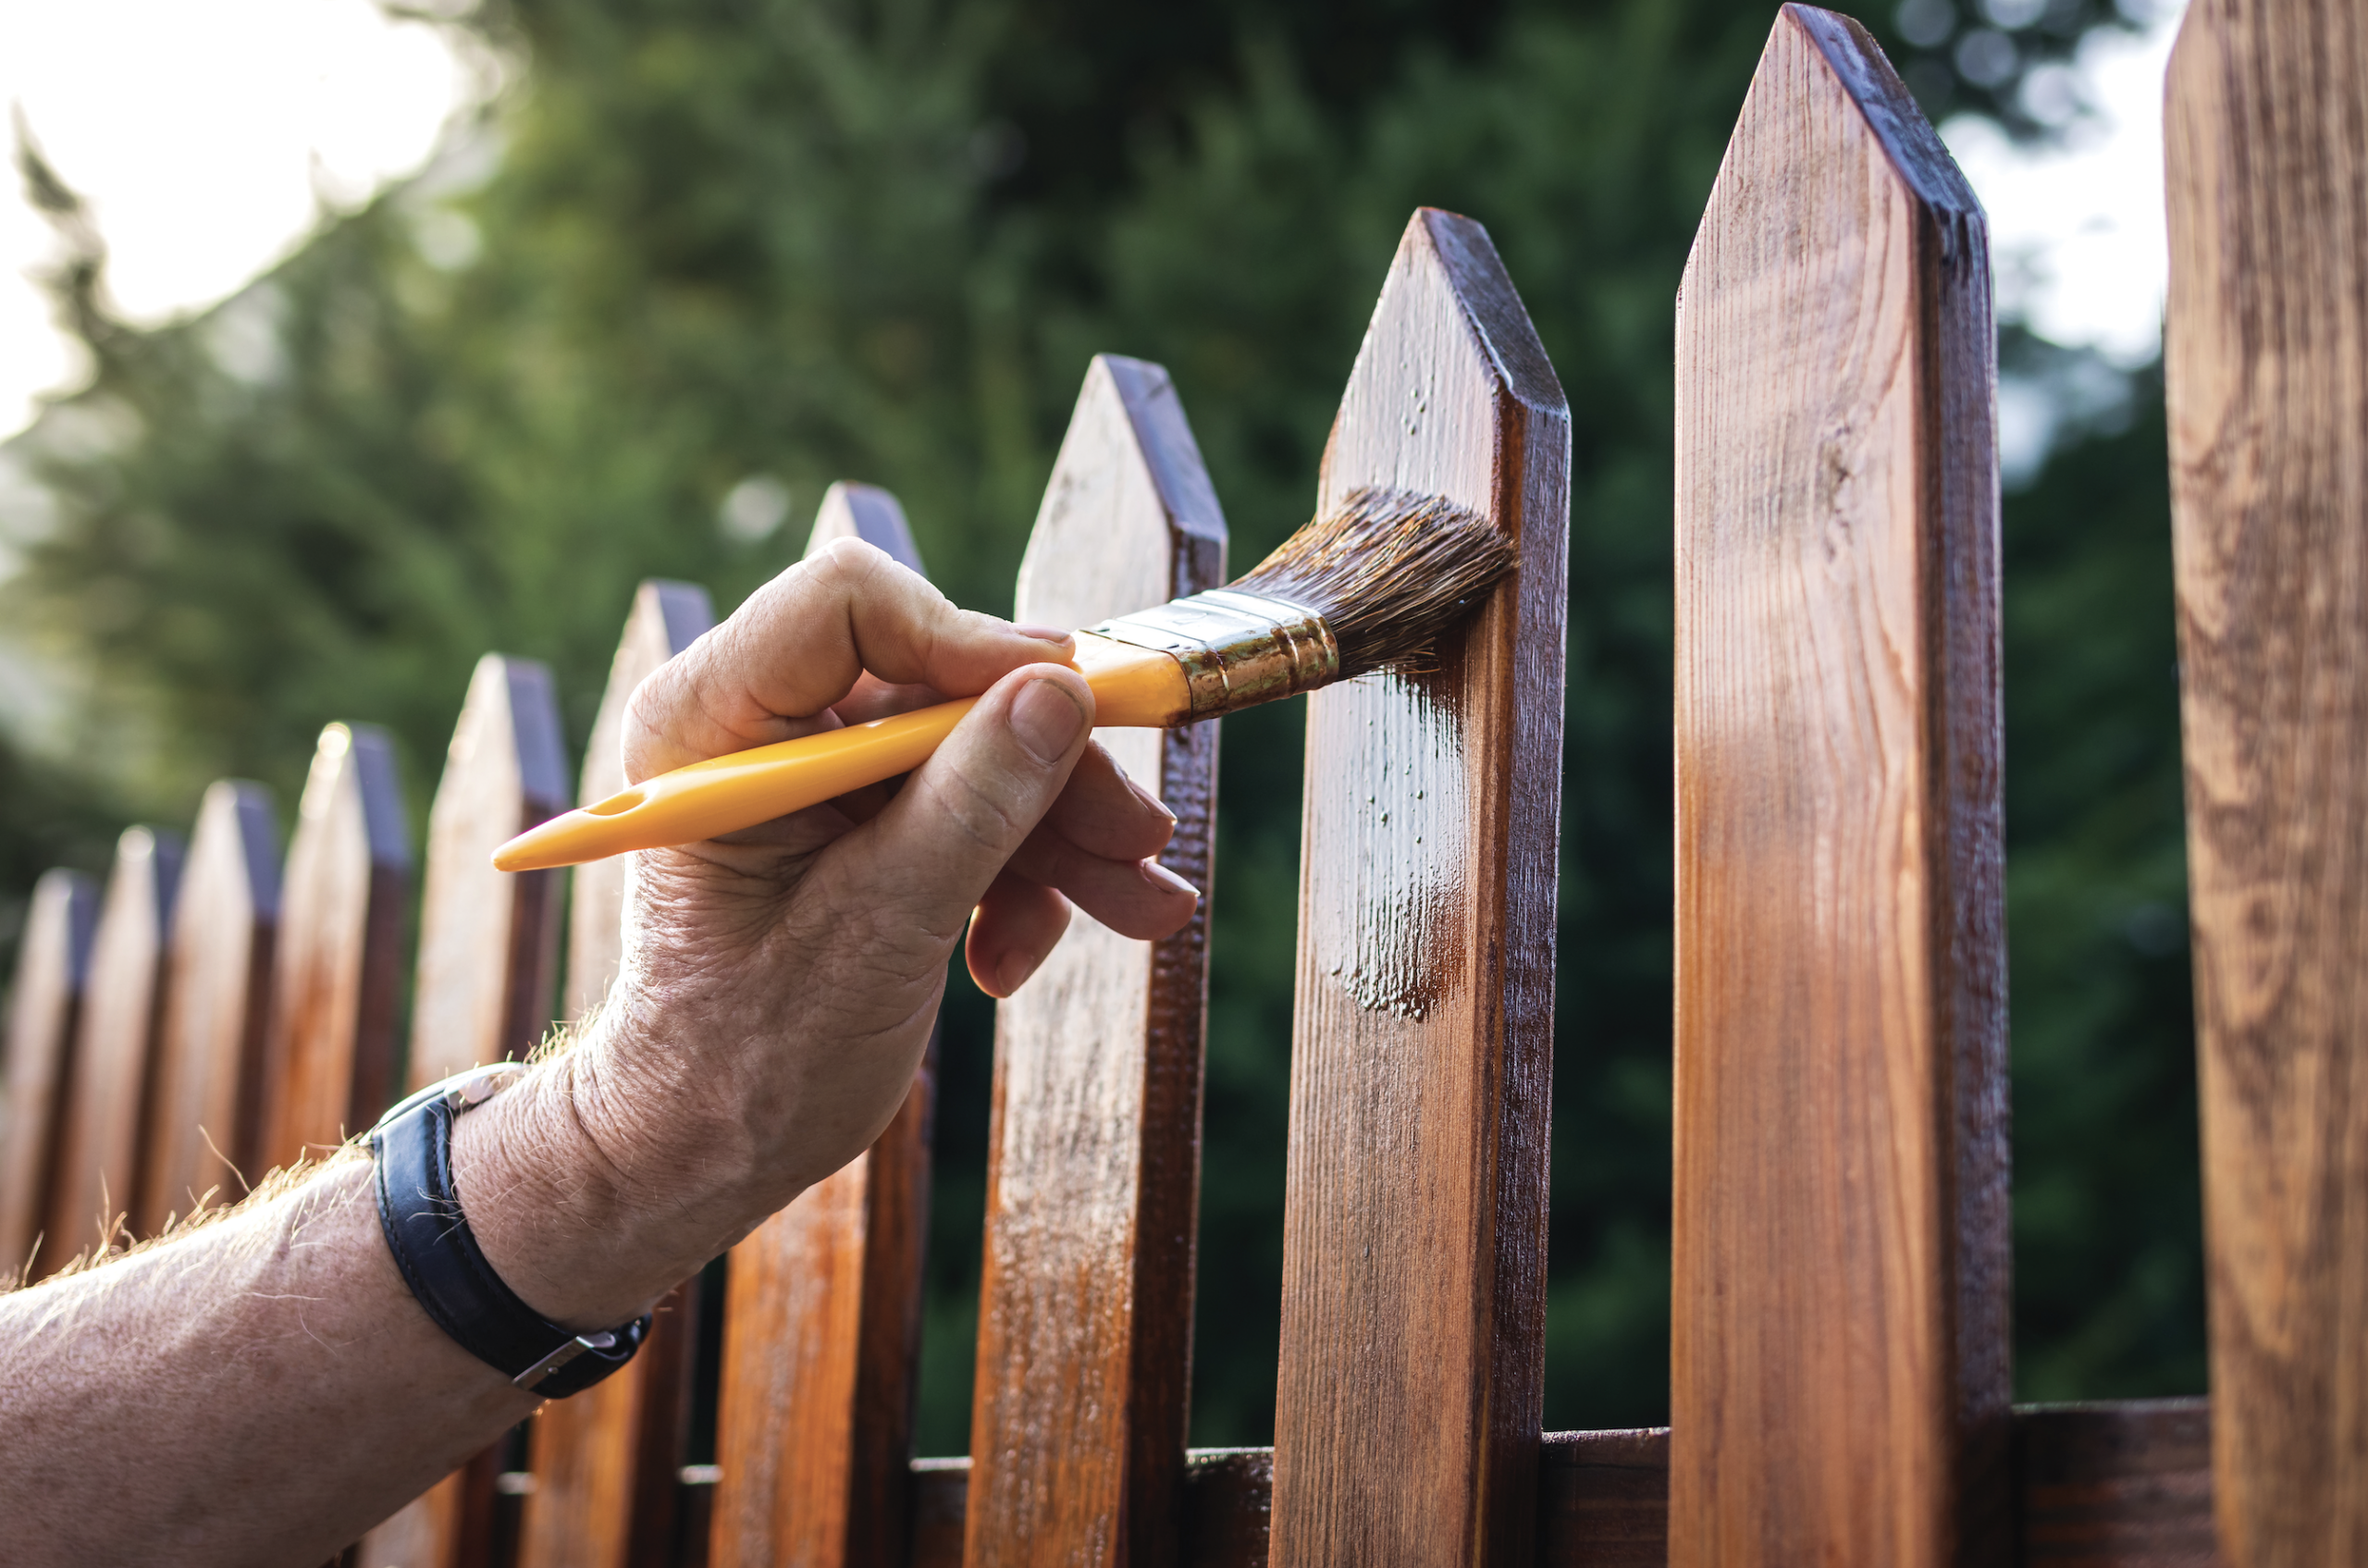
3. Apply the Stain
Once the surface is prepped, it’s time to apply Fleetwood 10-Year Exterior Woodstain in your chosen shade. Using a quality brush or sprayer, apply the stain evenly along the grain of the wood. Work in sections to prevent streaking and ensure a consistent finish.
4. Let It Dry
Allow the stain to fully dry before adding a second coat if necessary. This will deepen the color and provide extra protection against the elements.
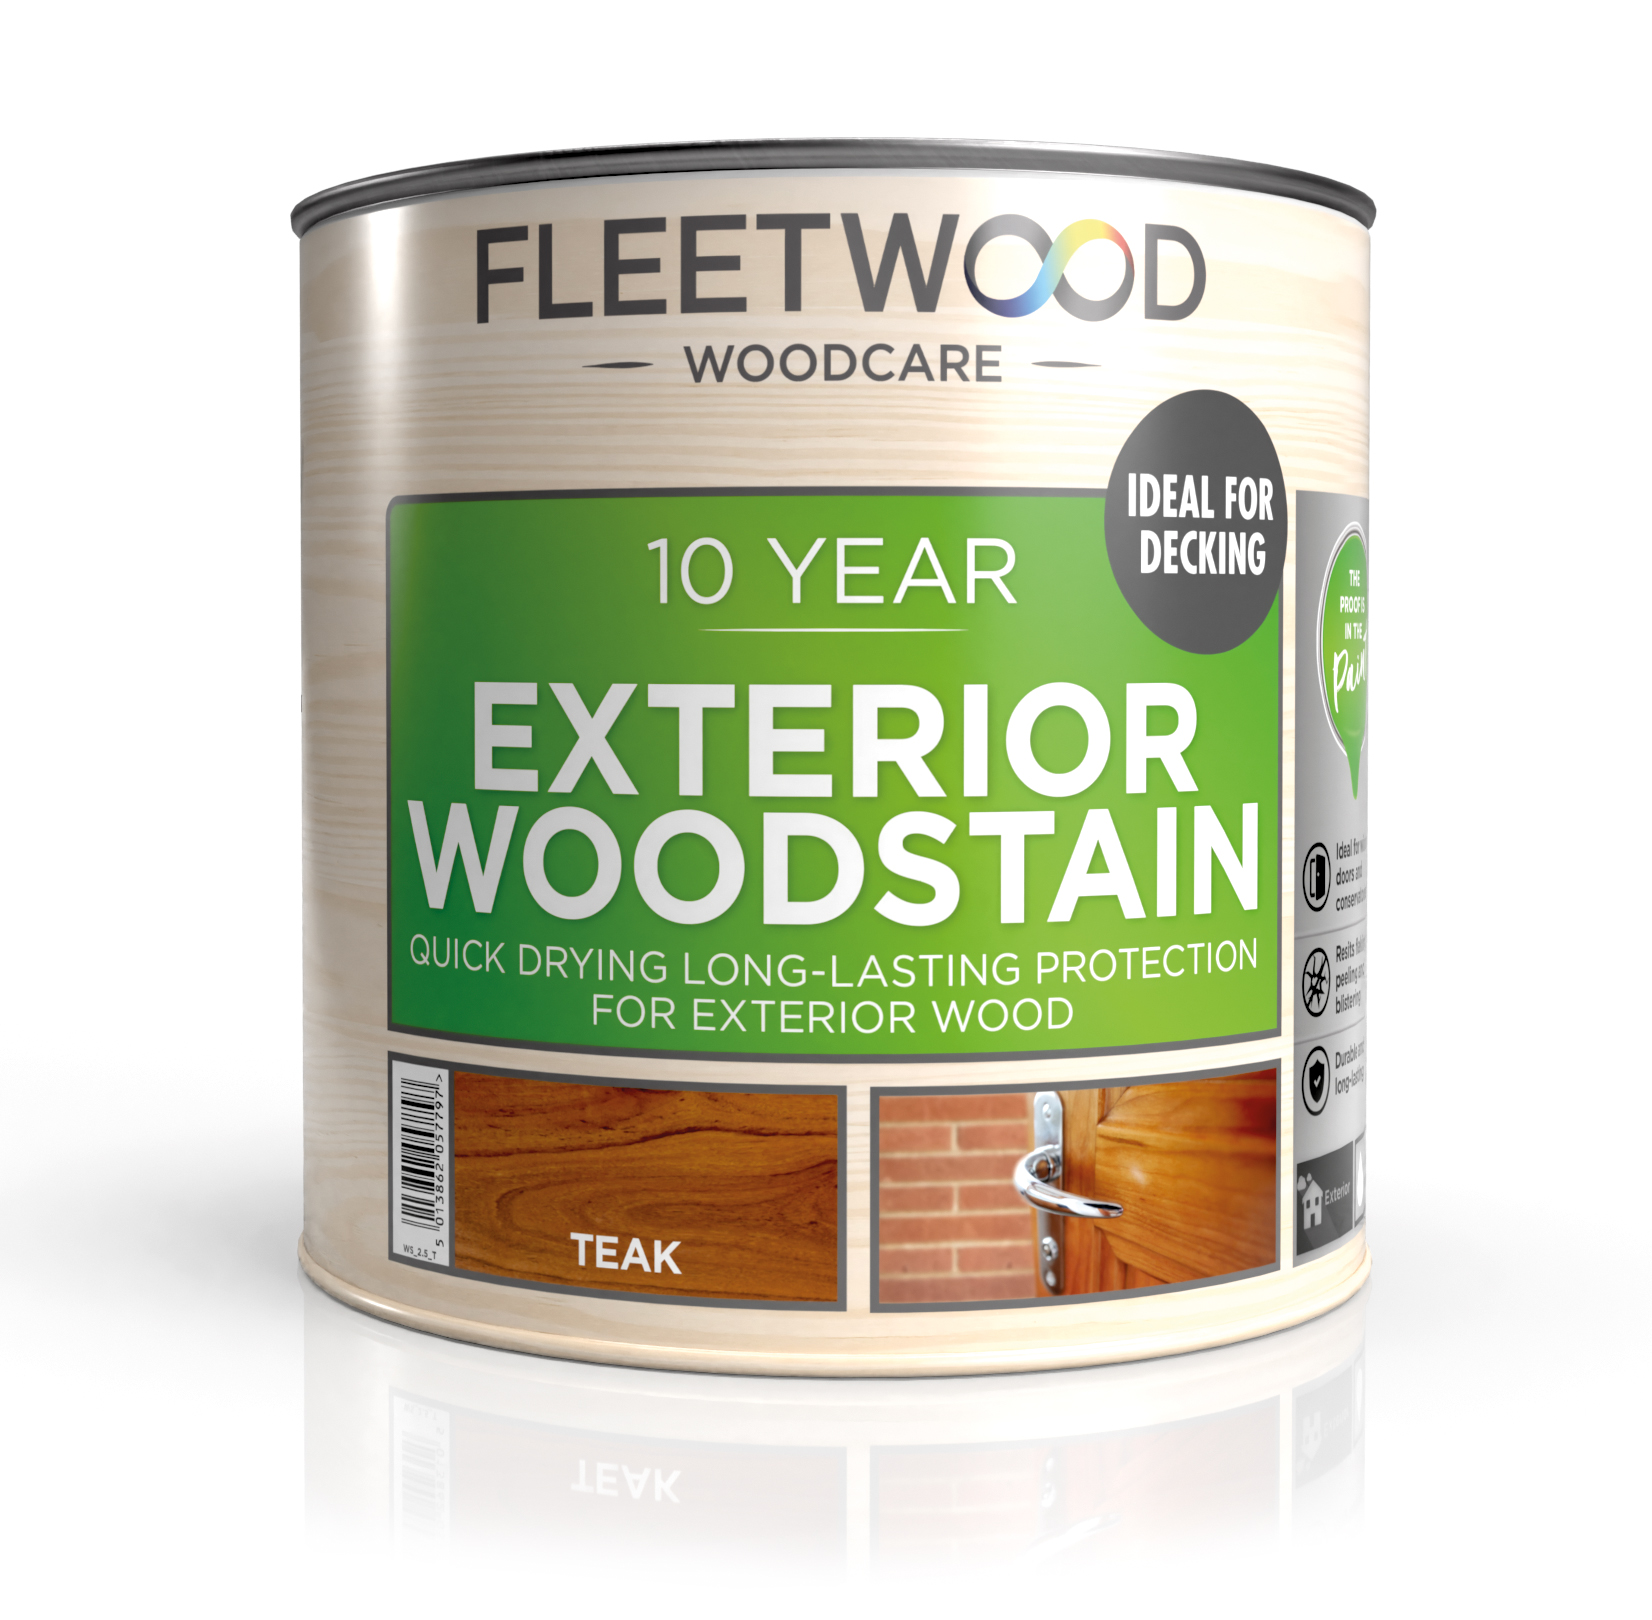
Fleetwood 10 Year Exterior Woodstain
✔ Ideal for garden surfaces Perfect for windows, doors, and conservatories.
✔ Resists flaking, peeling, and blistering Ensures a smooth, long-lasting finish.
✔ Durable and long-lasting Provides up to 10 years of protection.
✔ Water-based and quick-drying Covers up to 16m² per litre with a 4-hour recoating time.
Give your outdoor wood a fresh, professional look with long-lasting protection. Are you ready to enhance your garden surfaces? Grab your brush and get started this weekend!